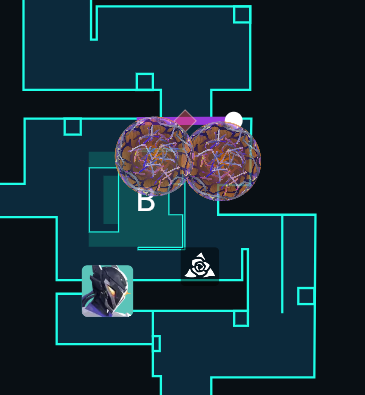
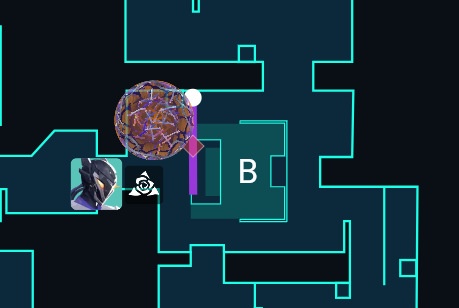

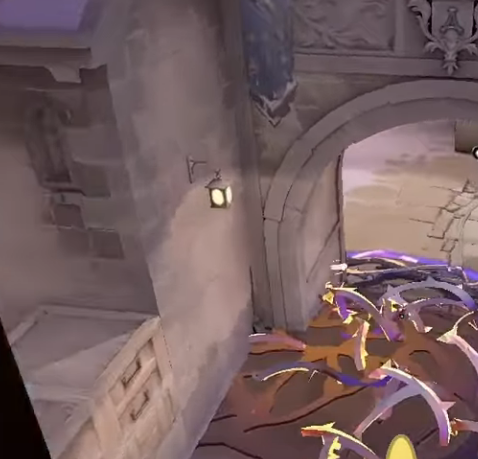
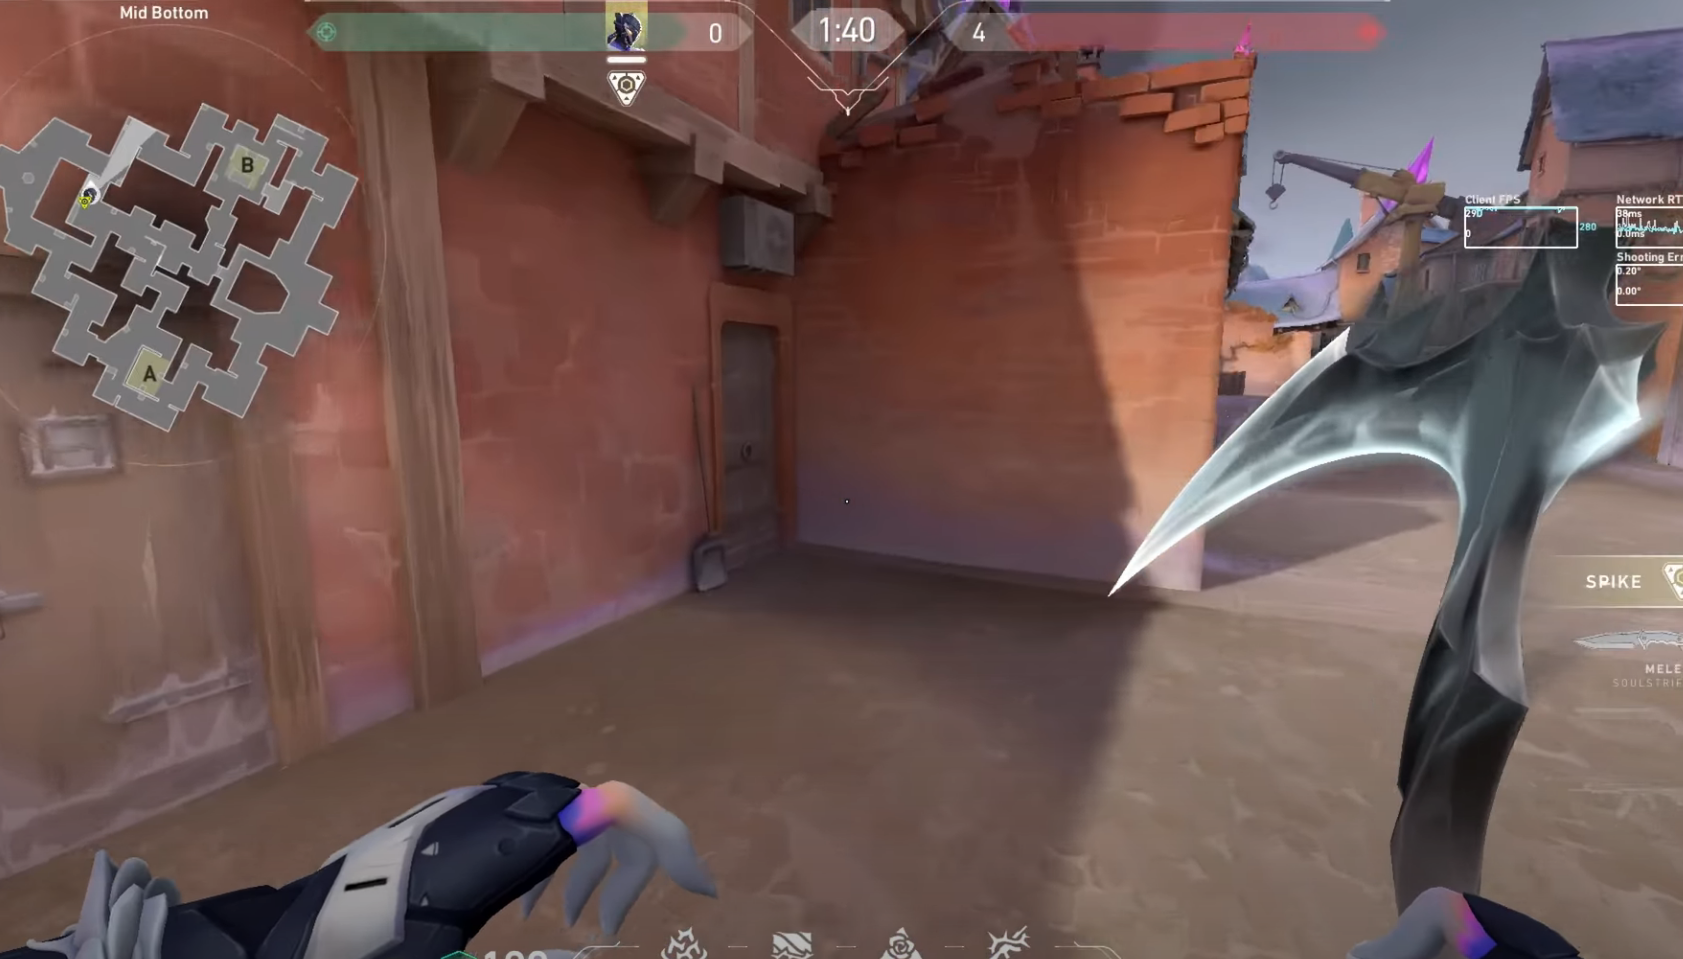
Stand here
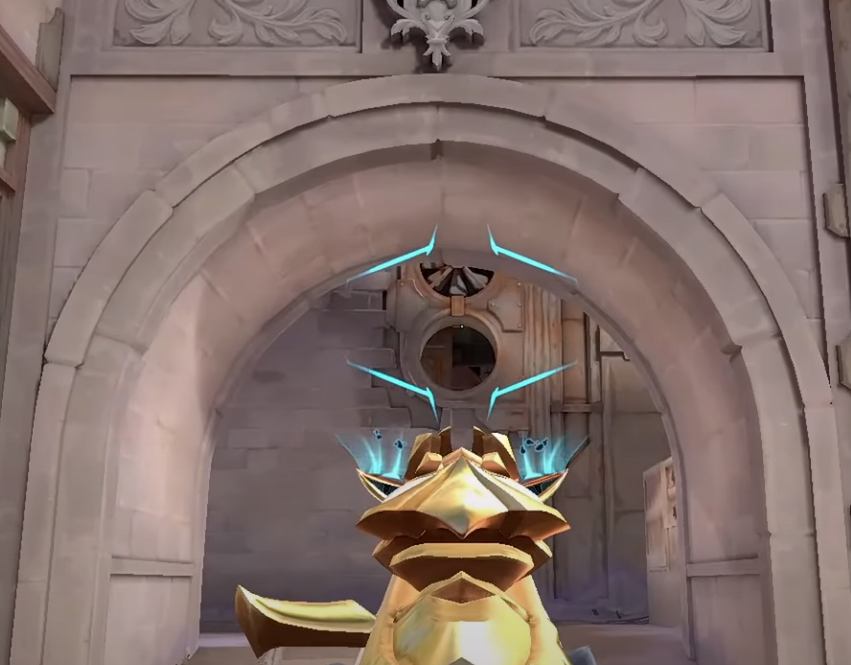
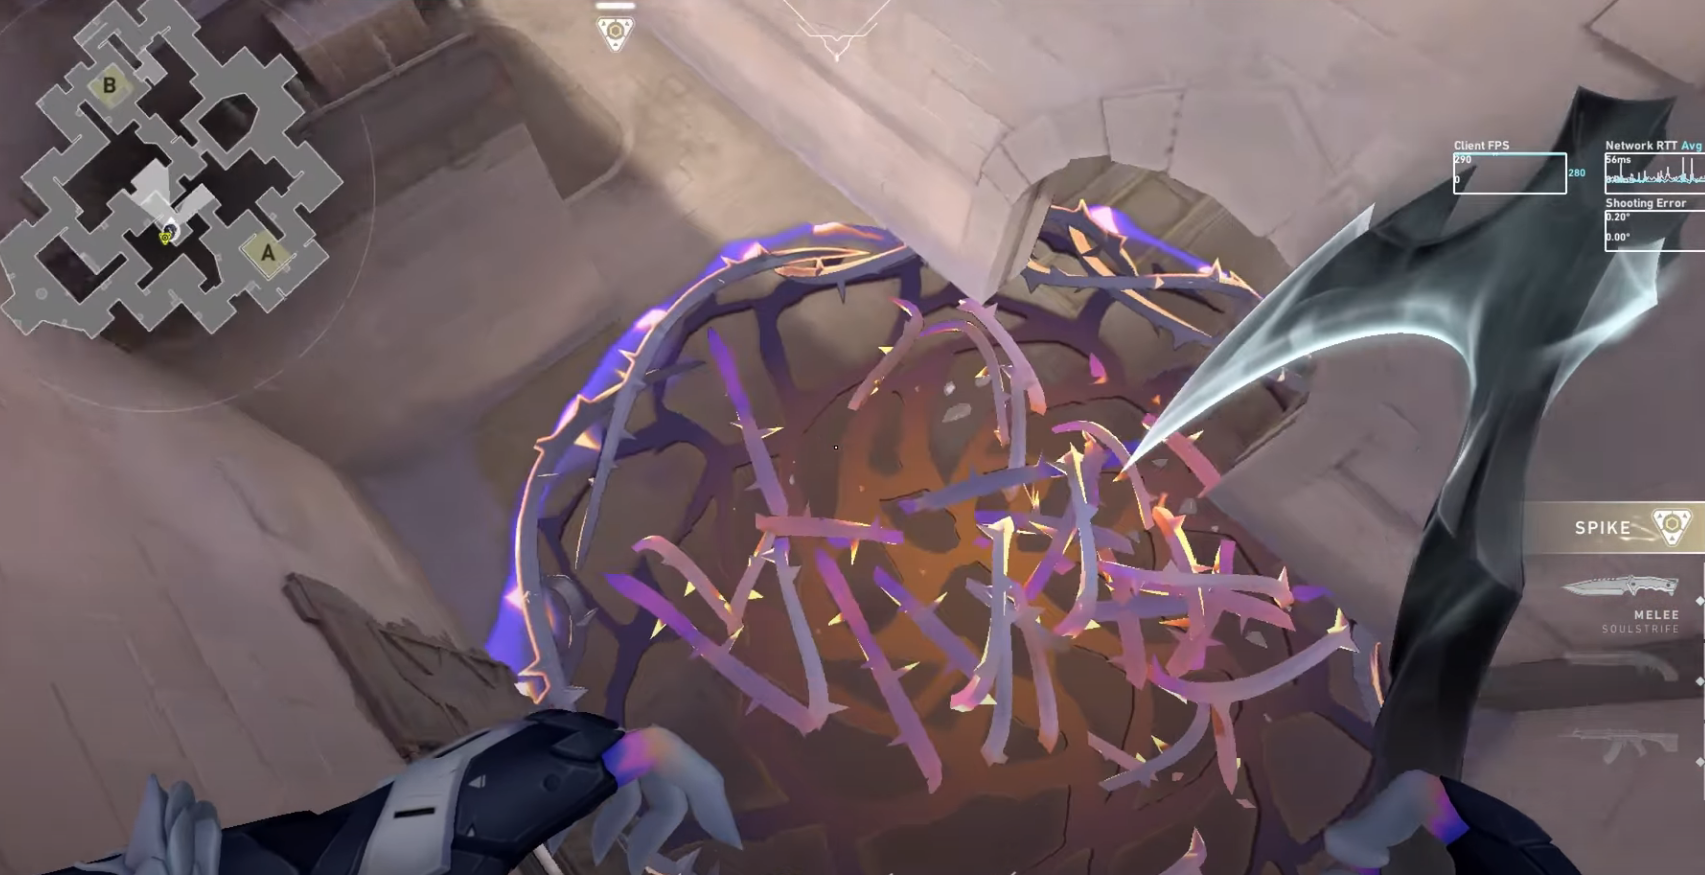
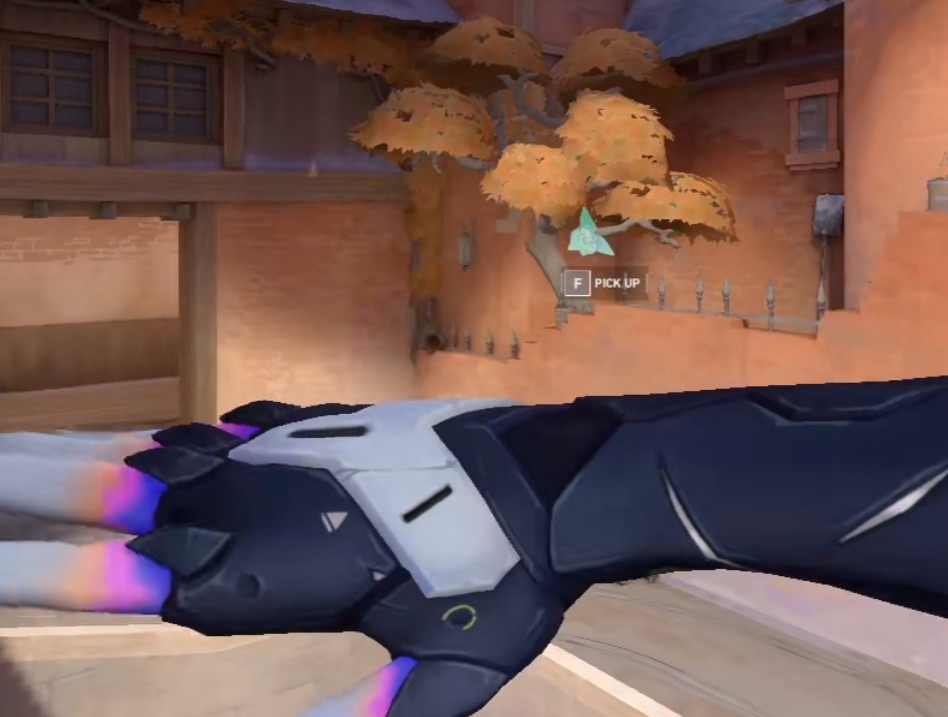
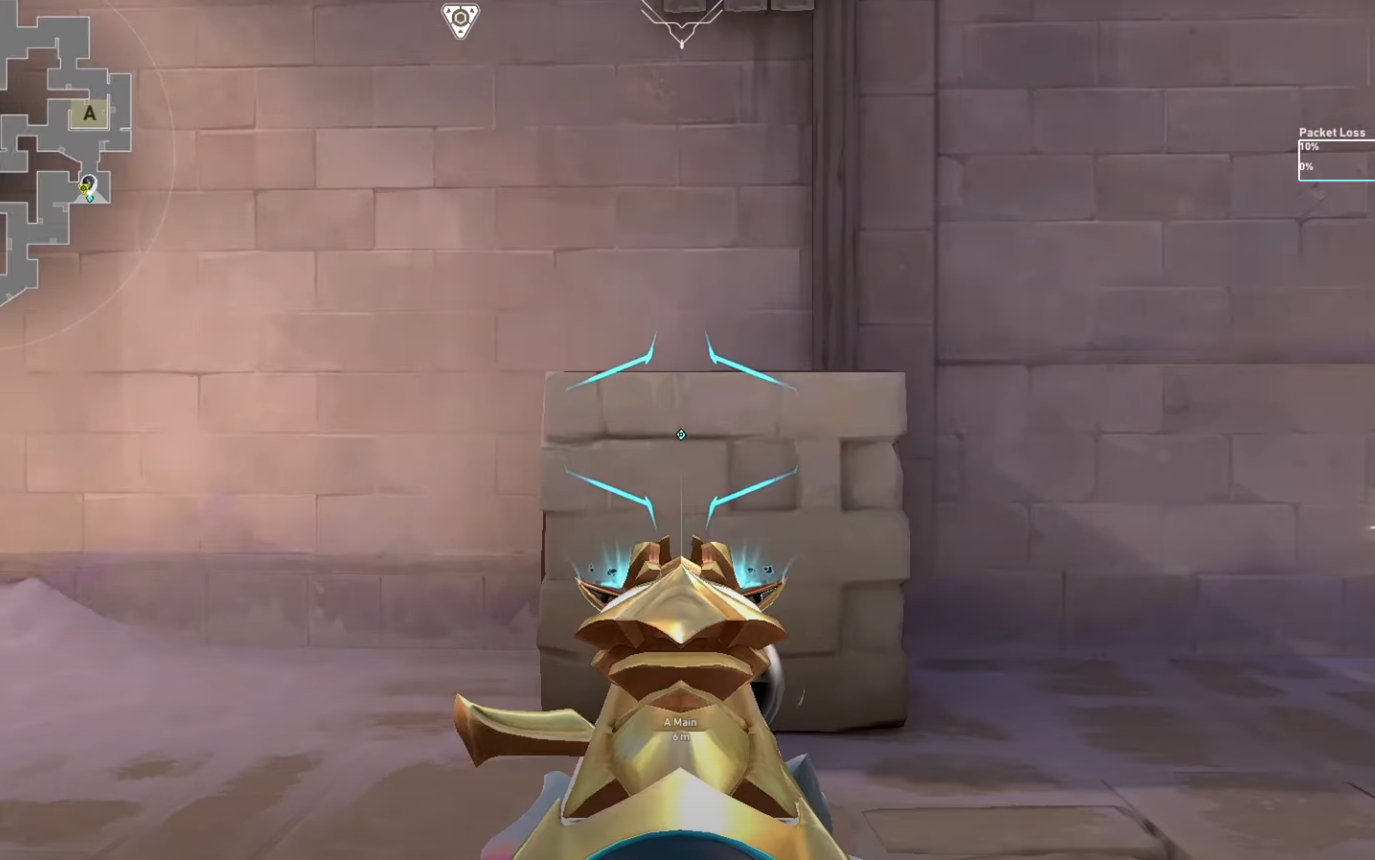
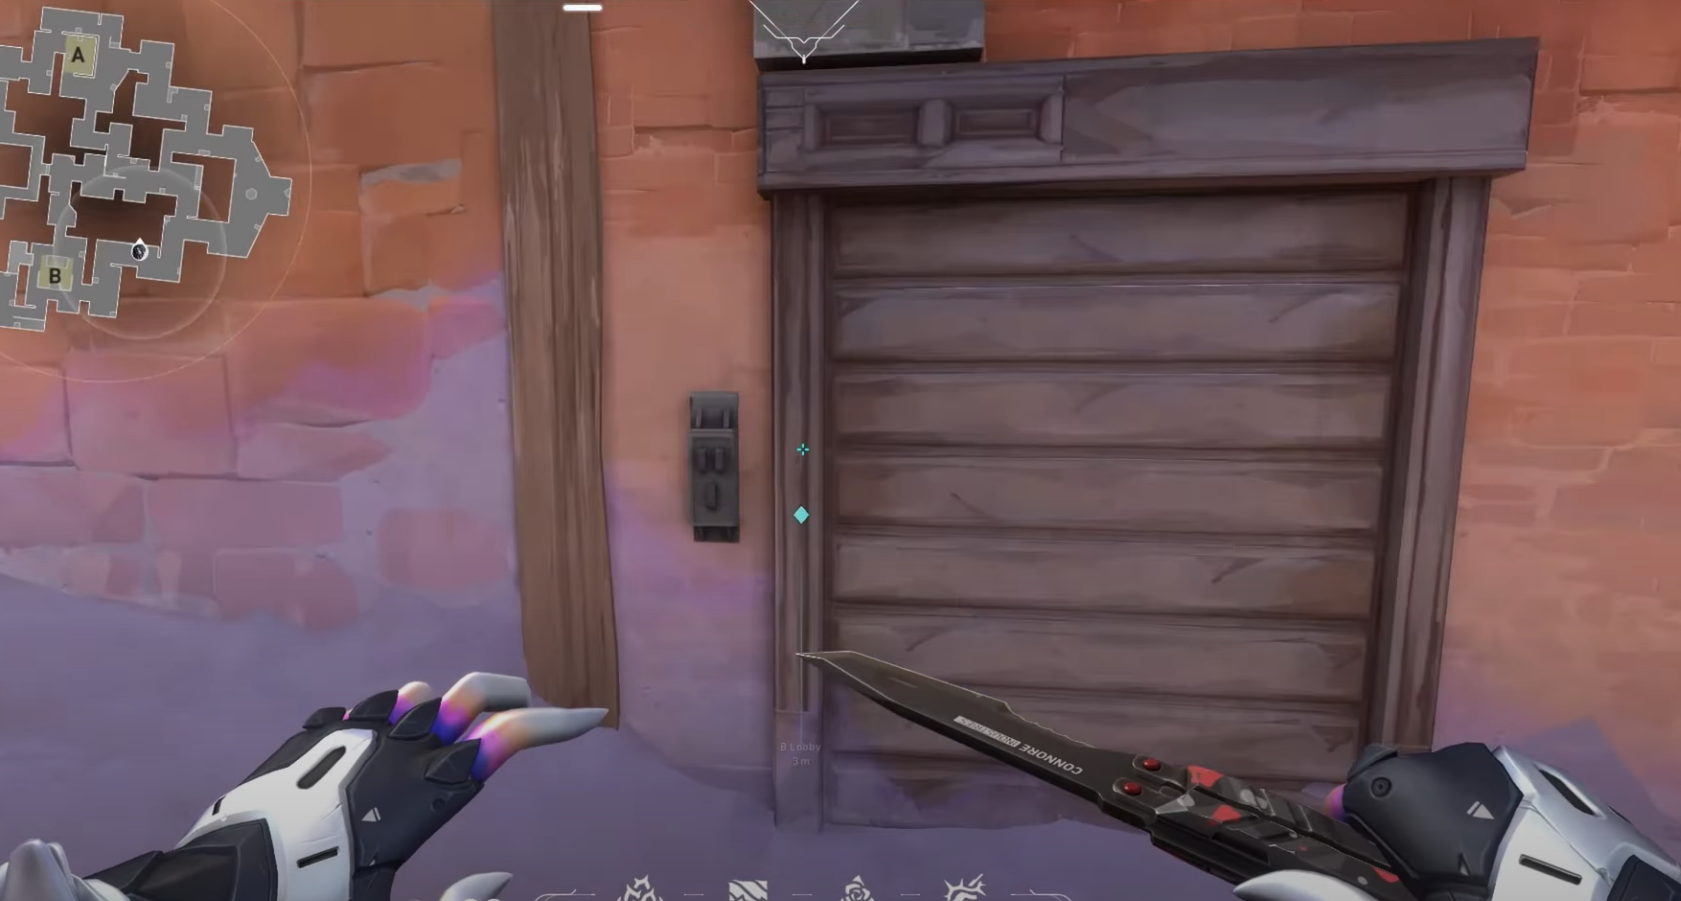
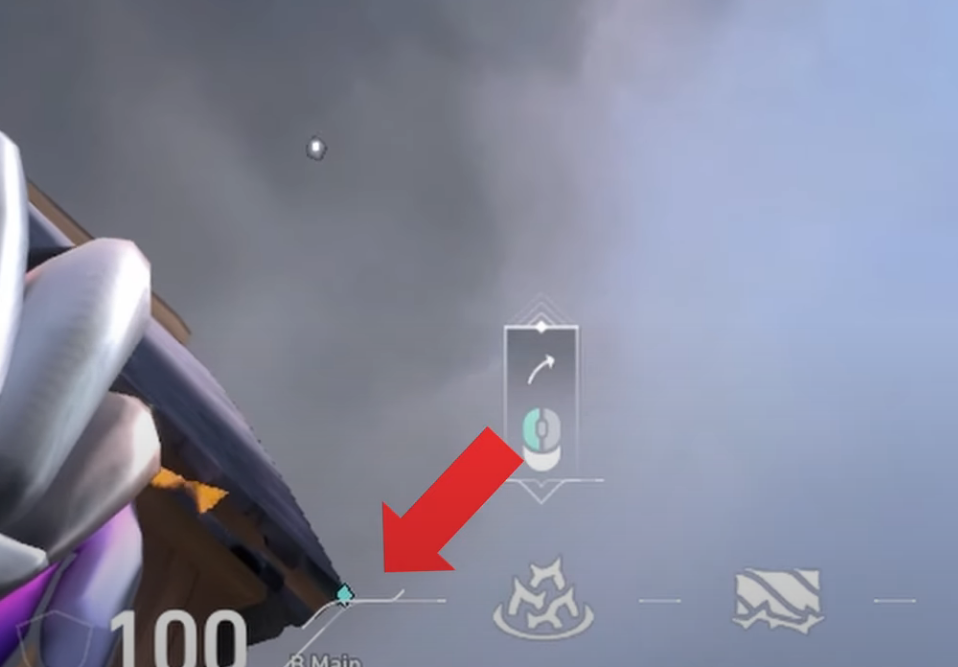
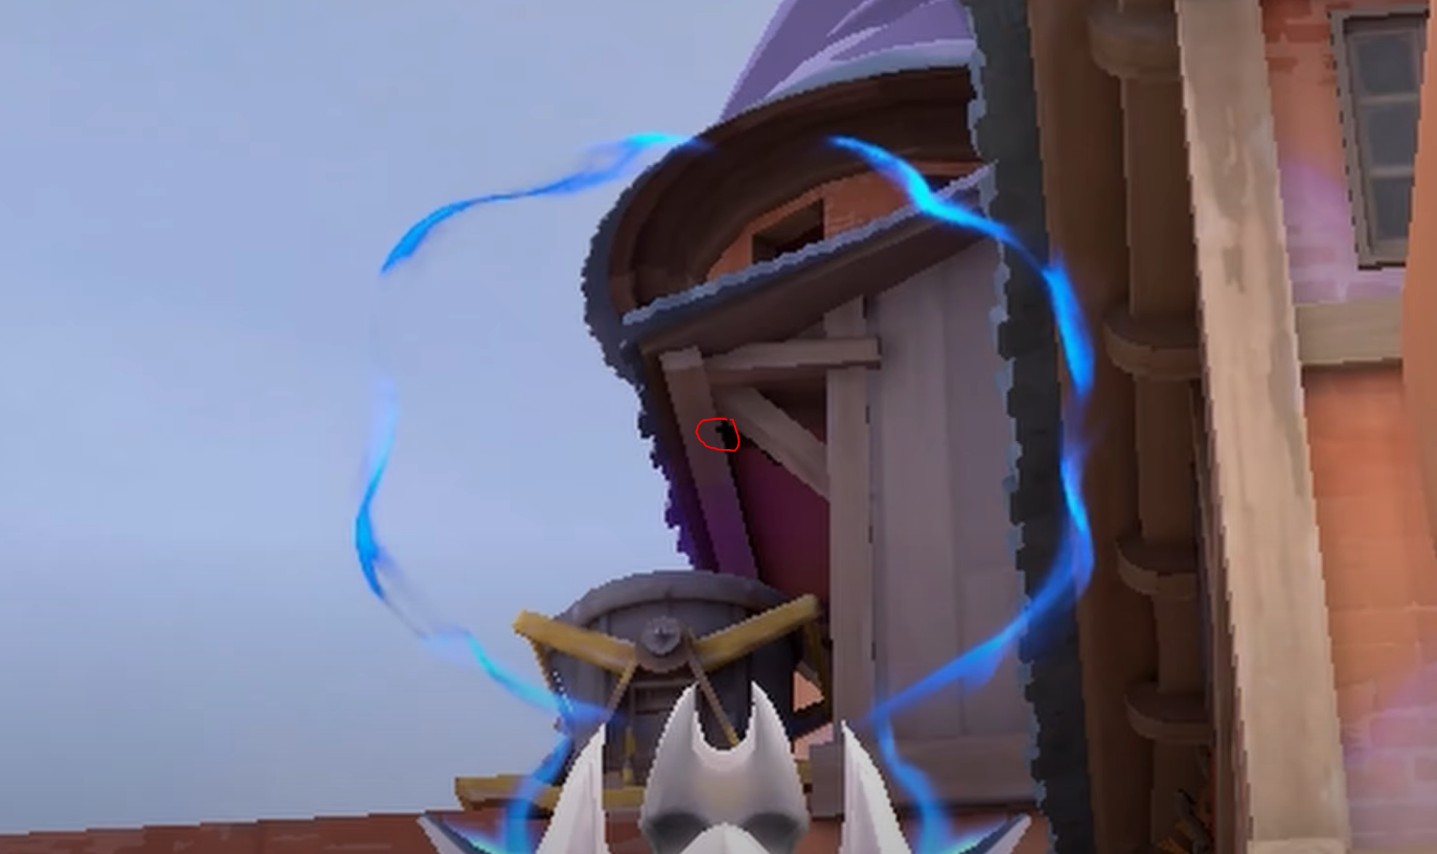
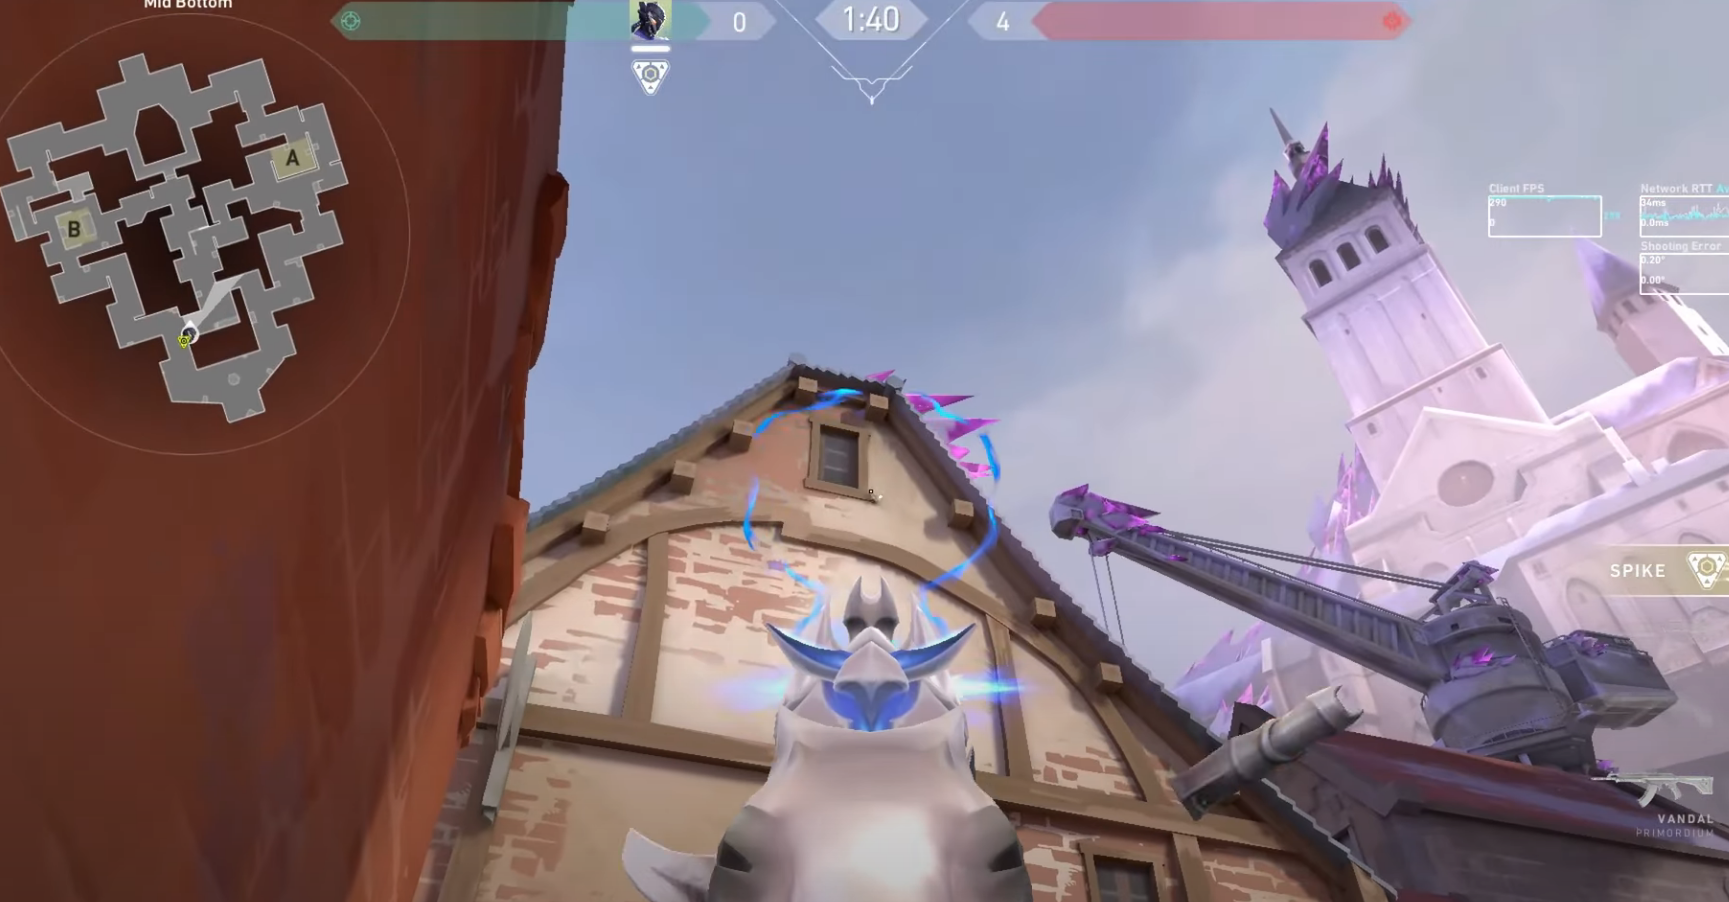
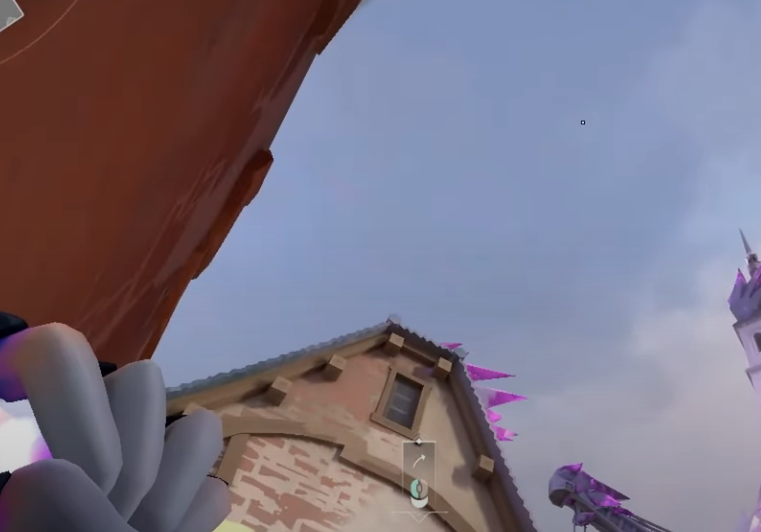
Aim here

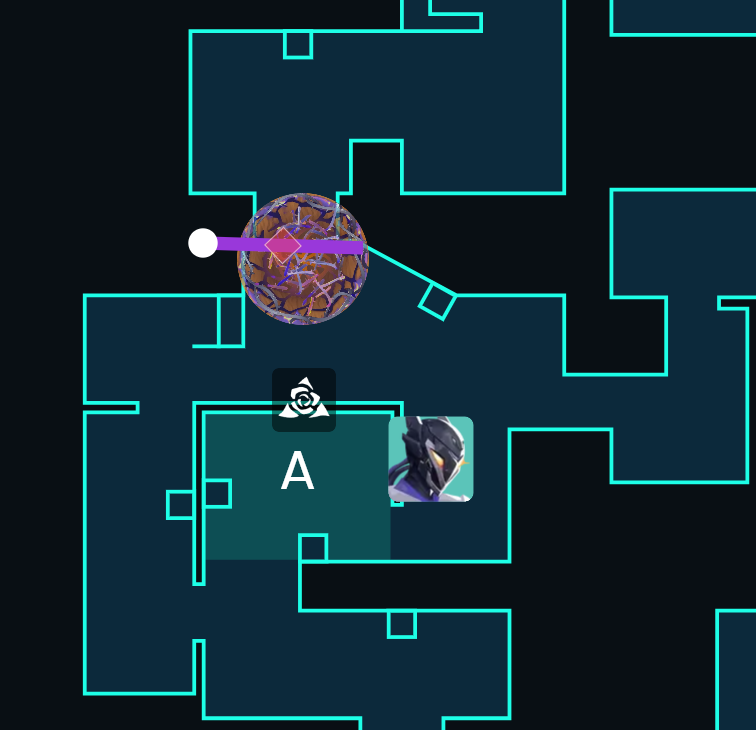
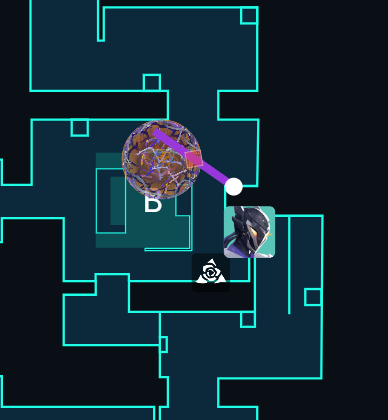
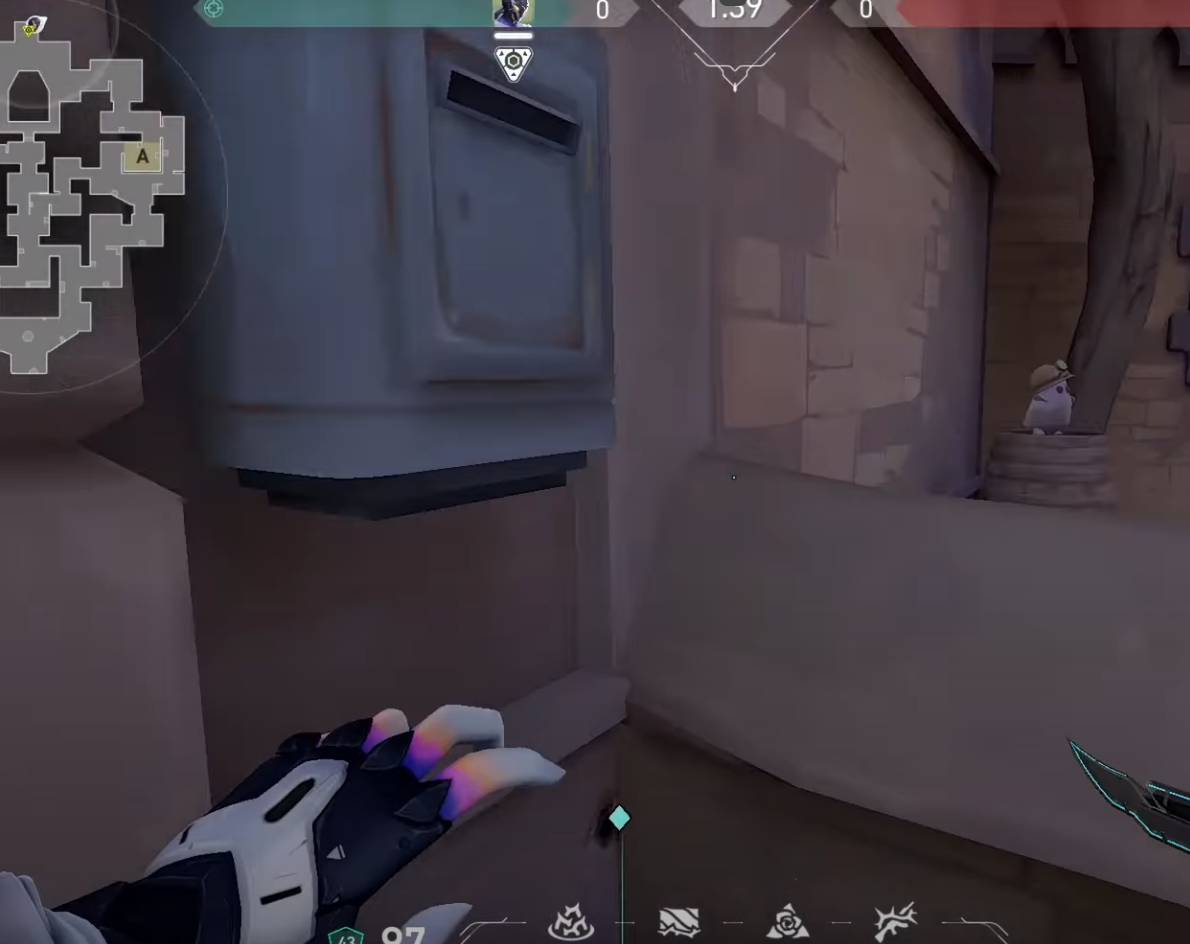
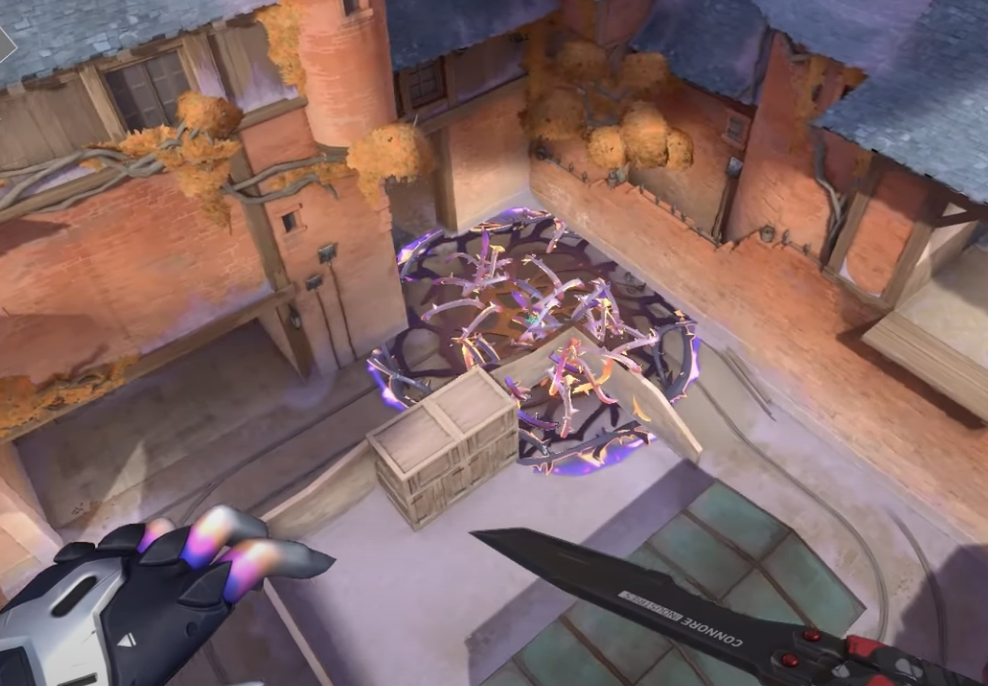
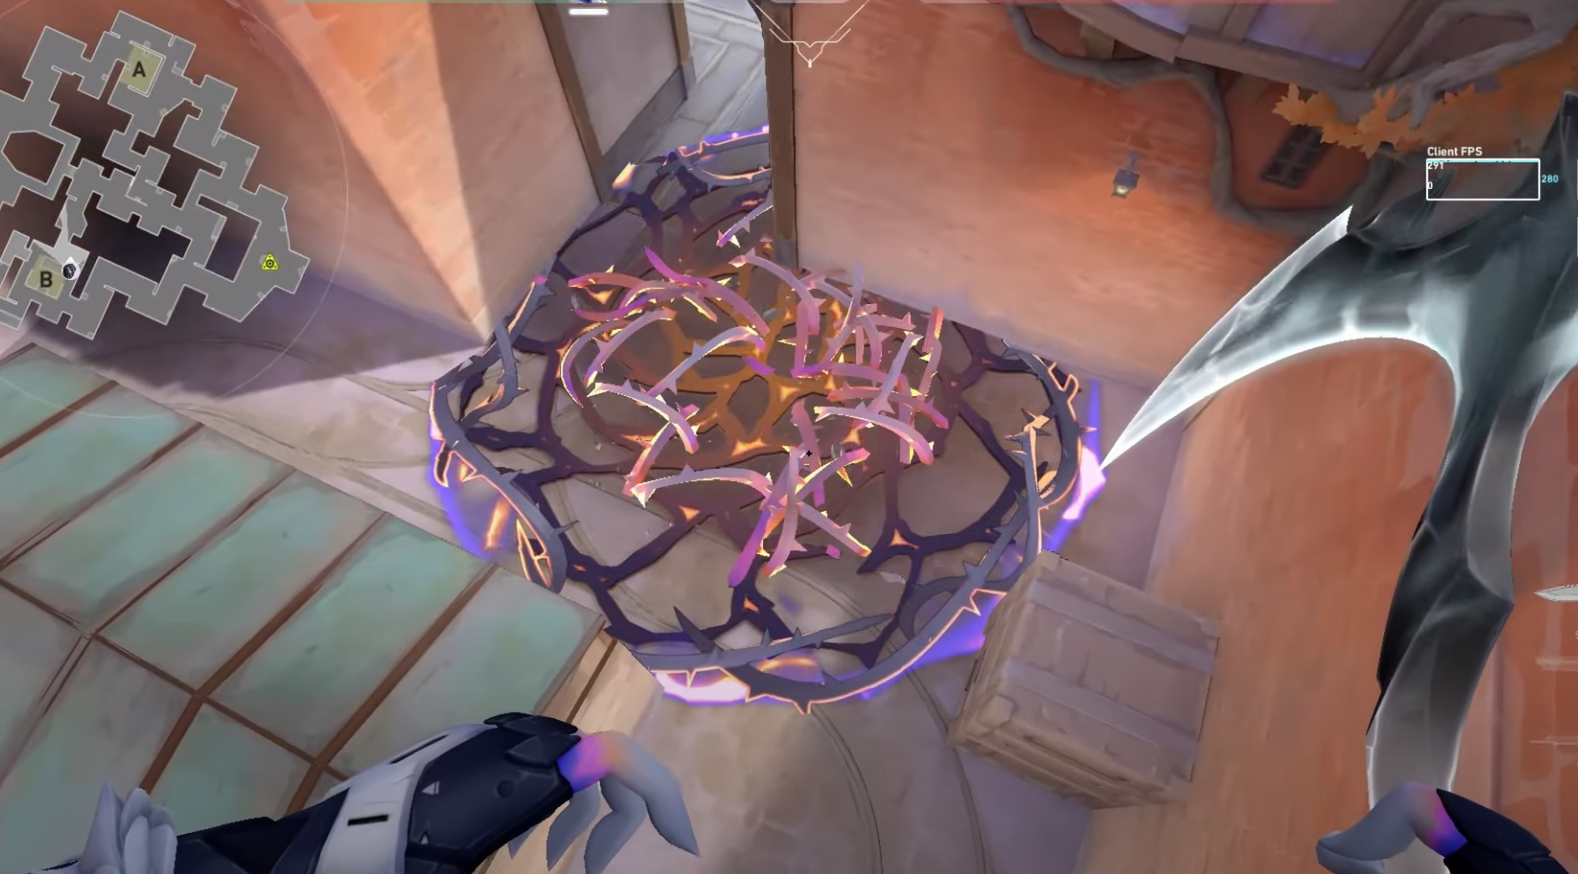
Result
Stand here

Aim here | | | JUMP THROW!
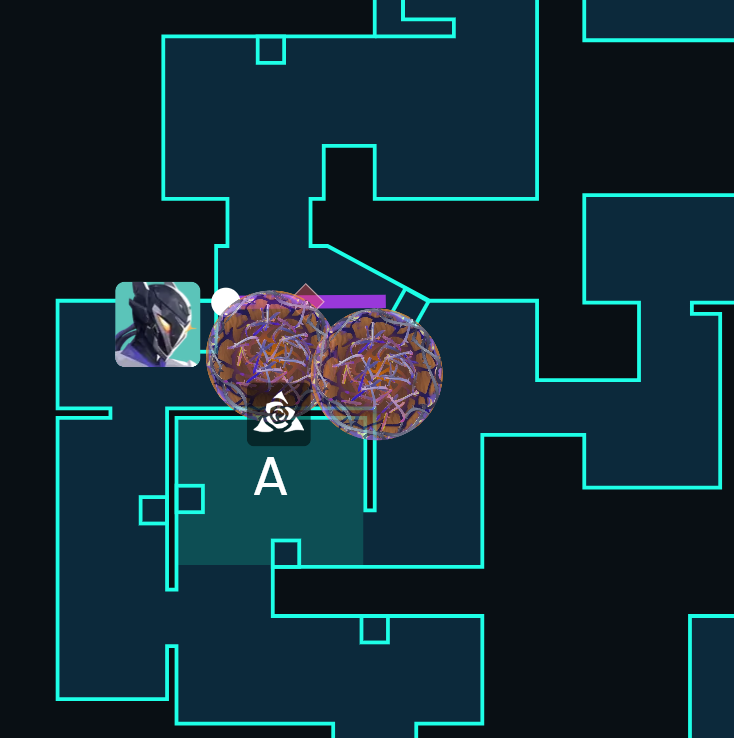
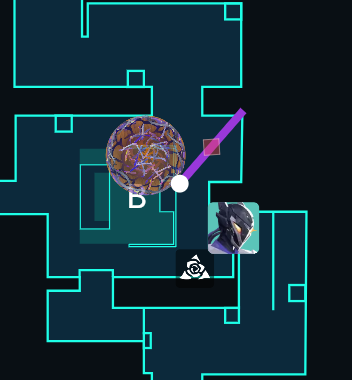
Result
Stand here

Aim here
Collide
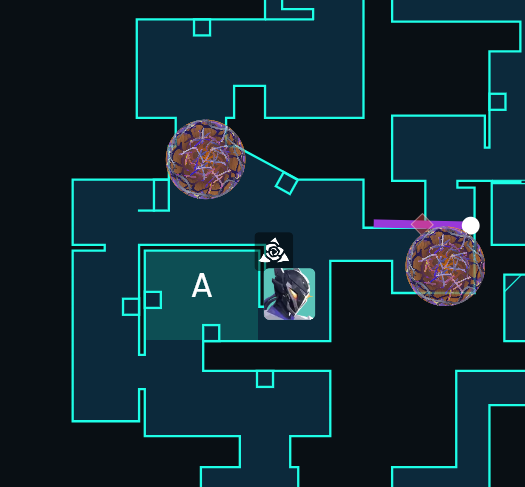
Result
Stand here
Aim here
Result
Stand here
Aim here
Collide